
This might sound like Clickbait, but I don’t bake. I hate baking and everyone in my family is mediocre at it at absolute best – apart from my nan. She’s a great baker and makes amazing biscuits, however, that might just be what nans do?!
Both my mum and me are famously terrible with baking cakes and there have been times where we threw away an already baked cake – in the tin, recipe attached (damn you, chocolate lava cake). Lately I have finally worked out why I don’t enjoy baking as much – I don’t like following a recipe and even while I make something for the first time, I have this running commentary in my head that almost forces me to immediately change the recipe. Screw the rules, right?! However – this cheesecake recipe doesn’t need changes – it is soft, creamy and fresh at the same time, in short: delicious.
For a cheesecake the size of a rectangular brownie tin (32×22 cm) you will need: 200g oat biscuits, such as Hobnobs and 90g melted butter for the base: for the filling you’ll need: 120g caster sugar, 3 large eggs, 250g quark, 85g pouring cream, 450g cream cheese, vanilla essence and 30g starch or custard powder. For the topping you need a bag of frozen strawberries (400g), 2 tablespoons of caster sugar, 1 pack of gelatine (to set one pint of liquid) and a pack of fresh strawberries.
First, crush your biscuits. You can use a food processor or a simple freezer bag and a rolling pin. Melt the butter and mix both throughly. Spread the mixture evenly on the bottom of your lined baking tray and gently press it down. Preheat your oven to 200 degrees.

Mix all ingredients for the filling in a mixing bowl and combine with a whisk, but don’t whisk like a maniac, just until everything is combined. The mix should be fairly liquid. Pour the cheesecake mix on the biscuit base. Now the most important bit: Regulate your oven down to 120 degrees and immediately put your cake into the oven. Bake for 55 minutes and don’t keep opening the oven to check on the cake, it’s doing fine without you.
After 55 minutes, remove the cake from the oven. The centre is probably still a bit wobbly, but it will set, so don’t worry. (I’m talking to myself here as much as you)
When your cake has cooled down, heat up the frozen berries with the two tablespoons of sugar in a saucepan, blend them with a stick blender and stir in the gelatine. Pour the mixture on top of your cake.
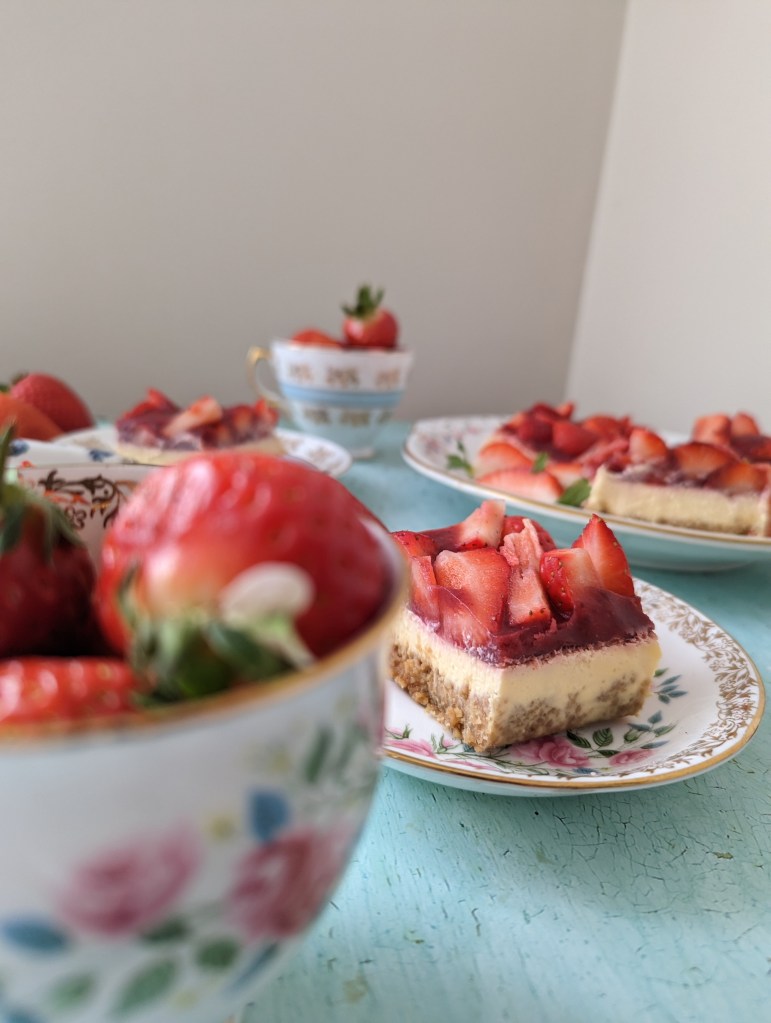
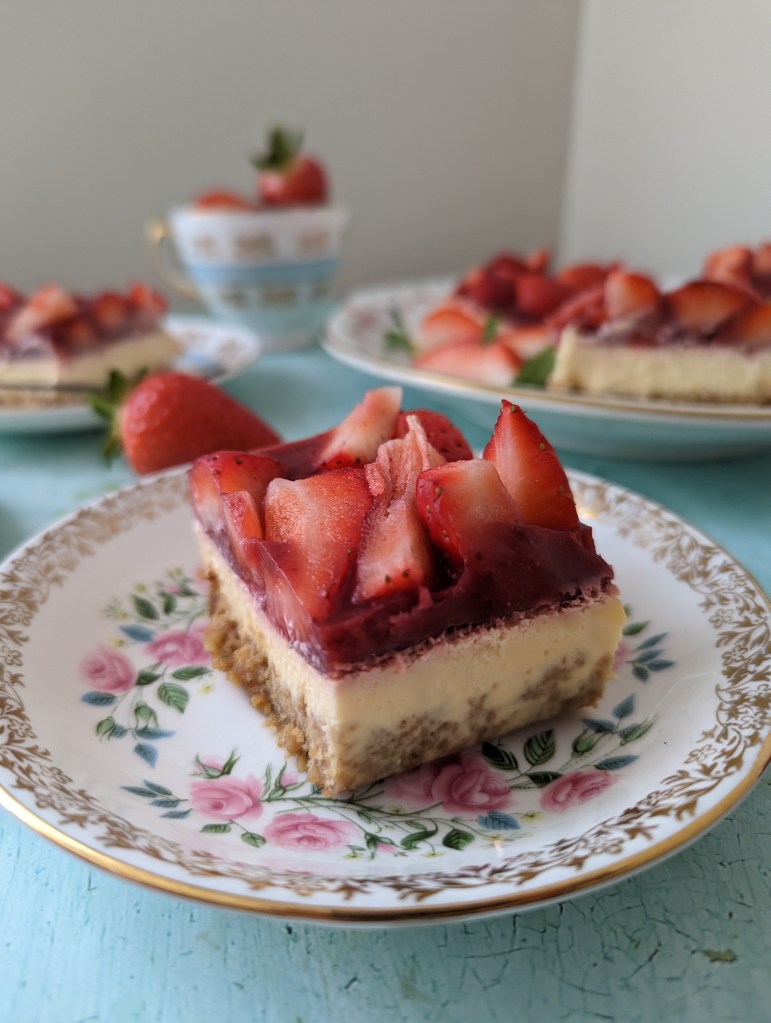
The last step is to wash and cut the strawberries. I cut them directly above the cake and let them fall onto it, but if you prefer it a bit neater, you can arrange them however you like. Just make sure all your strawberries are touching the strawberry & gelatine mixture. Put your cake into the fridge and let it cool through for at least 4 hours, but ideally over night. You’ll get a beautiful cake with a creamy centre. Of course it also works with raspberries – because who wouldn’t want to immediately change the recipe?
